
To build the first prototypes, we wanted to select widely-available and technically accessible hardware. We are not trained in electronics, so we needed a functional machine quickly to move on to software aspects.
The core of the machine was quickly decided to be a Raspberry Pi Zero. This computer costs $5 each and offers excellent performance since its specifications rival that of the HP Prime G2:
- 1 GHz ARM CPU
- 512 MiB RAM (!)
- SD Card storage, at the least 8 GiB for operating system and personal data
- A DPI interface DPI for efficient display management
- The essential mini-USB port for all communication tasks.
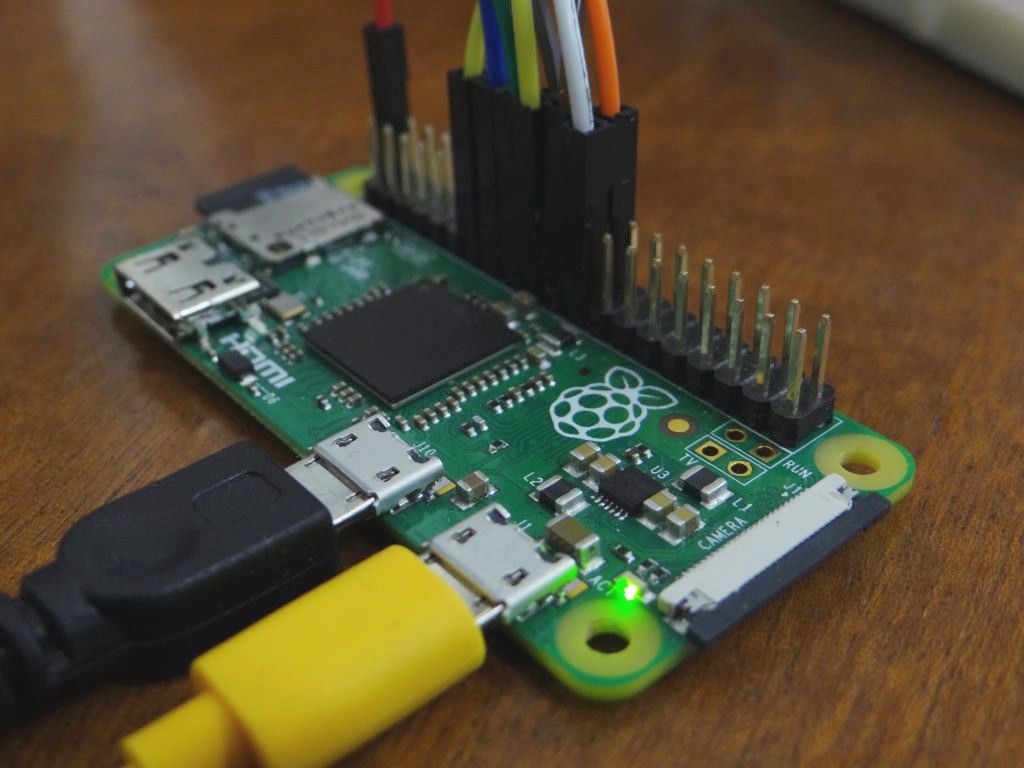 Our Raspberry Pi Zero, with the SPI screen wired.
Note that this is the only Raspberry Pi suitable for the job since the French examination mode (links points to the official journal that introduced it in 2015) bans calculators that have wireless communication capabilities from exams. That said, even an Ethernet port would look silly!
Of course, unlike models that run specialized operating systems (Casio Graph, TI-8*, Numworks), having Linux incurs a performance overhead. The goal of the System Administration team thus includes keeping the system light to limit this impact. We have to be careful about the boot time, the efficiency of the graphics stack, the responsiveness of applications among others.
Paradoxically, we won’t use the DPI interface in the first prototype, which would be a natural choice to guarantee reasonable performance. DPI consists in sending data to the display in parallel to make transfers faster but instead, we’ll start with an SPI interface, which uses serialized communication.
The rationale is the distribution of the GPIO (General-Purpose Input/Output) pins of the Raspberry Pi Zero. These are the pins on which wires can be seen on the picture above. They connect external hardware, and we use them for the screen and the keyboard. The exact number of pins required depends on the peripherals we choose:
- 6 GPIOs to wire a 4-wire SPI display (maybe 5 with some effort);
- At least 18 GPIOs to wire a DPI display;
- One GPIO pin per row and column of the keyboard, which means about 14 to 16, for a simple design;
- 4 or 5 GPIO pins to wire the keyboard in a serial communication, if a multiplexer is used.
The Raspberry Pi Zero, as most computers of the genre, only has 28 GPIO pins total. The most accessible combination for us is to keep the keyboard simple and wire an SPI screen. This will have a small impact on the graphics performance; eventually we can try out DPI and a multiplexed keyboard.
Regarding the screen, we tried a 320×240 display by EastRising with an ILI9341. It supports a wide range of interfaces, including SPI and DPI – only one at a time, selected during the order. We chose the 4-wire SPI interface.
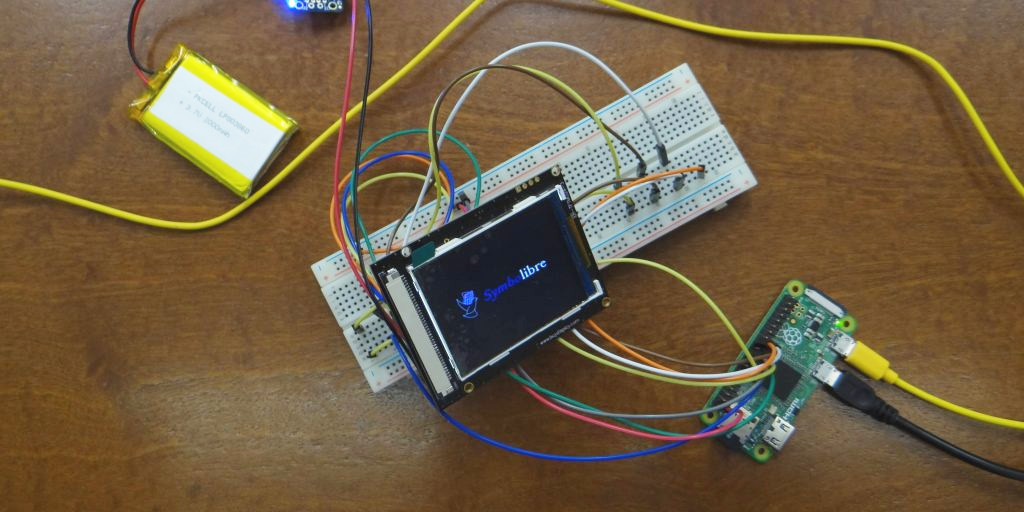 Temporary wiring of the SPI screen on a breadboard.
For power, we initially imagined using a simple battery pack wired to the mini-USB port of the Raspberry Pi, but this was over-simplistic. Battery packs are too large and tend to have complex battery level measurement interfaces.
So we quickly changed our plans in favor of a 2000 mAh Li-ion battery resembling that of Numworks, with a PowerBoost interface by Adafruit to boost input voltage et handle charging. This interface is expensive and, we hope, temporary. It will allow us to start working quickly.
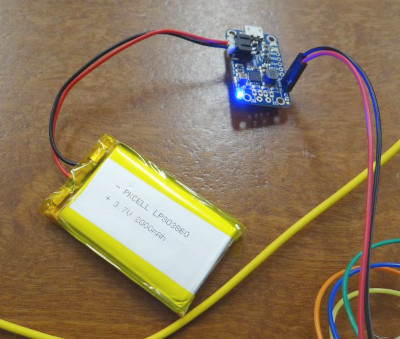 Battery and PowerBoost interface.
This list lacks the case, which we will 3D-print from a personalized model. This is not the most technical part of the assembly, just the last. Once we receive or print all the components, we’ll work on organizing them inside the case.
The only aspect still unclear currently is the keyboard, for which we’ll need a custom PCB. This will be detailed in another article!
Submit a comment
Comments are reviewed manually to filter out spam.